Pages

Friday, March 30, 2012

Technique Hop on YouTube

Hello there...today's post brings you a technique hop going on amongst some amazing crafters who all inspire and put me in awe all the time. We started this little hop in hopes that we can share some techniques you may have not heard of, want to try, learn and to have fun with. It's always fun to take a technique and make it your own as well!

I decided to showcase a technique I learned off of Tim Holtz, I didn't get to take the class that he taught this technique at CHA Winter 2012 but I took my cousin's tags with the instructions and tried it out. And I had a ton of fun learning it. It is called "Distress Ink Crumpled Kraft Suede".  Of course I love the technique because my ultimate inspiration Tim Holtz created it and you use all TH and Ranger products! With this technique you can create your own paper with a suede look. Pretty awesome!

Products used: Kraft Paper, Ranger Ink Refresher, Tim Holtz Distress Stains, Tim Holtz Distress Inks and Ranger Perfect Pearls.

Here are the instructions:
Spray Kraft tag with Ink Refresher until completely covered. Rub into surface using your fingers. Crumple the tag several times creating wrinkles. Apply Distress Stains over Kraft Surface. Dry with heat gun. Apply Distress Inks over wrinkles. Lightly highlight with Perfect Pearls by rubbing over tag with you fingers.
Here is the tag my cousin made in the class:

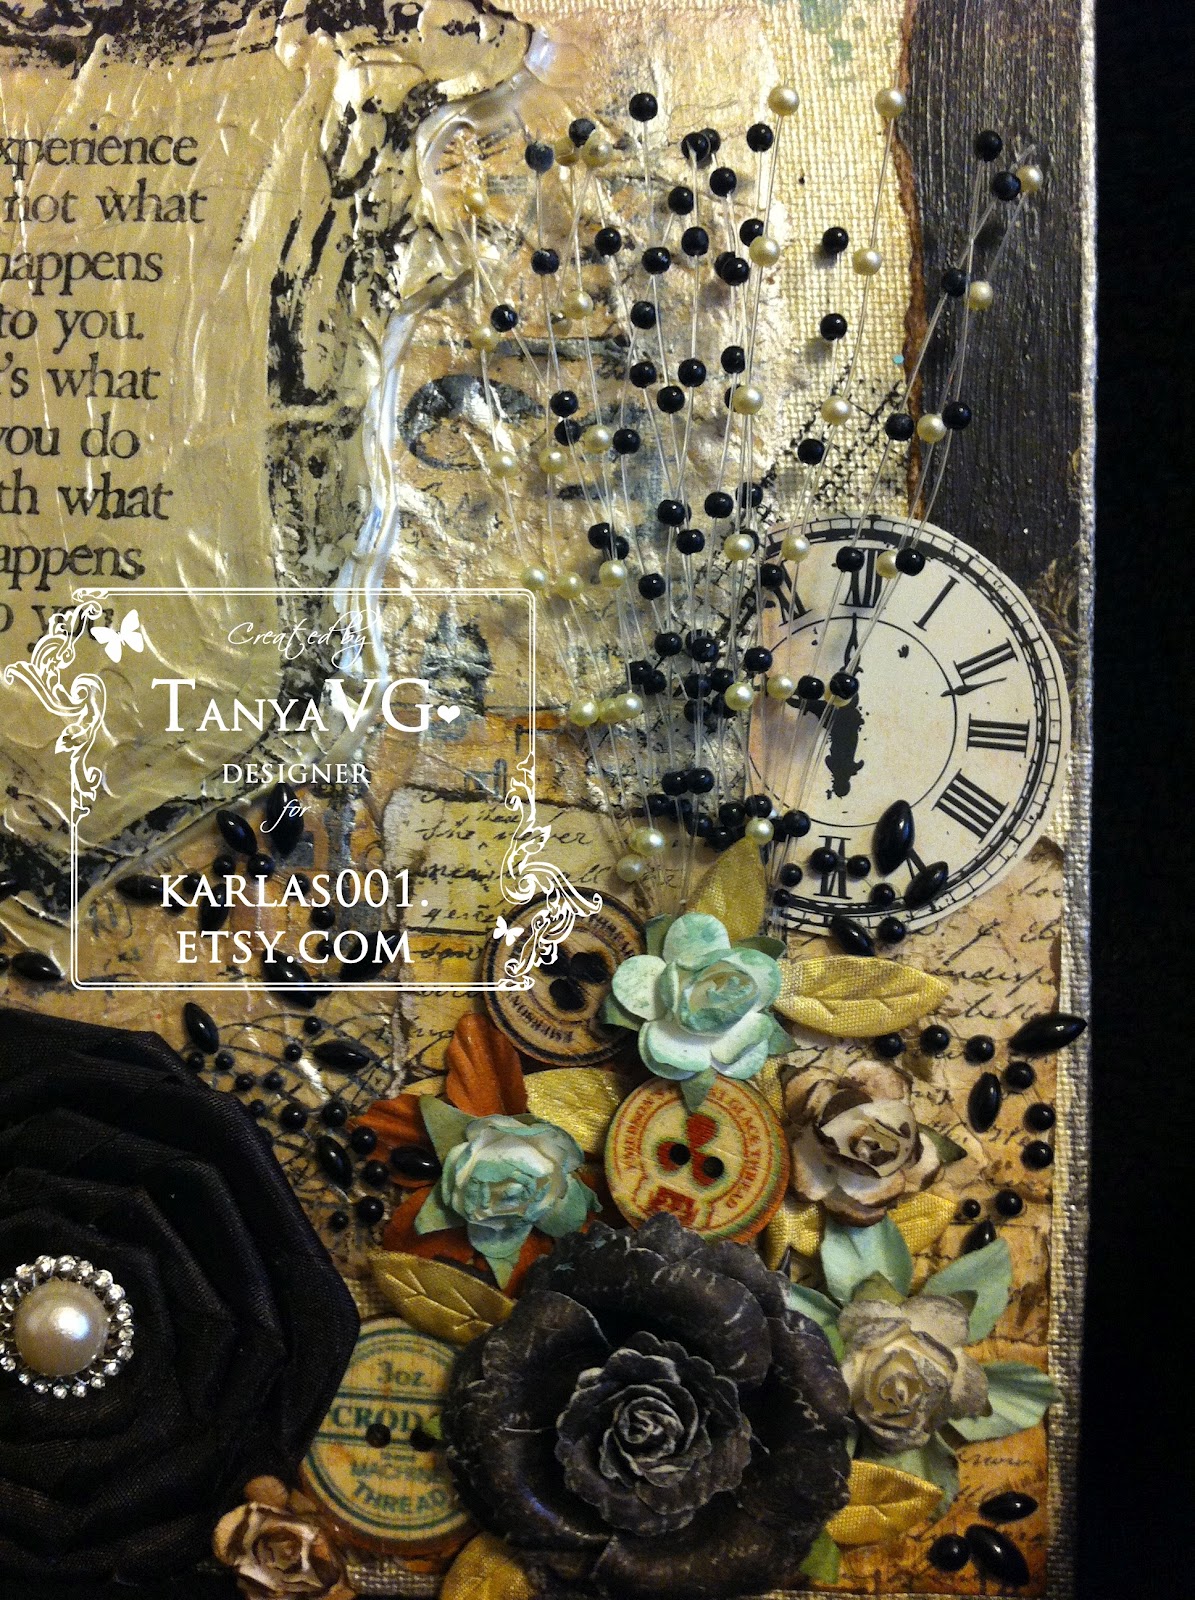
The first time I used the technique was to cover part of a craft box:
I realized after doing the technique a few more times after this one, I had skipped the distress stain portion. 
I then decided to do it as a make & take at my local scrapbook store Remember When because I had Perfect Pearls as the featured product, here is the tag I taught:
The class tag, they only used one color of Perfect Pearls...while designing this tag I was testing out colors and decided to use thee different colors. I like how it turned out.
Here are the two tags I did using Walnut Stain Distress Stain, Walnut Stain Distress Ink, Weathered Wood Distress Ink and Perfect Pearls colors: Blue Patina, Pewter and Perfect Pearl:


Check out my tutorial by watching video below and hop over to the list of amazing & talented ladies in the hop with me! Have fun everyone!


Monday, March 19, 2012

Princess Altered Frame

Hey Everyone! Another posting in less than a week...I'm on a roll! :)

The other night I was going to start a mini album and instead I altered a picture frame with the remainder of the My Mind's Eye Miss Caroline line. I came up with a "Princess" frame! It was super fun to create something so girly! As I was altering the frame I pictured a baby girl all cutesy, giggly and smiles!

I was surprised that I came up with something in less than 2 hours, I created as my Maroon 5 playlist on iTunes which is 1.8 hours of music! That kind of timing for me is awesome...lol! Maybe it was something about Adam Levine that made me be so creative so fast...hahahaha...the right kind of music can do wonders! :)

Check out the pictures below and my YouTube video.

I used some fun products from KARLAS001: pink pleated satin & organza trim, pearl trim, Juliana Shabby Chic Porcelain Flowers, Green Leaf Trim, Pink/Beige Paper flowers with pearl stamen, pink ceramic flowers

Frame is for sale at Handmade by evilscrapper!

Until next time, be creative...


Saturday, March 17, 2012

Prima Printery Altered Canvas

Altering things is so much fun, I think it lets me be me...sometimes it's happy, melancholy, inspirational but most of the time ALL OVER THE PLACE! LOL! I love to get my hands dirty with all the different mediums! I love to layer and make things bulky...altering boxes, canvases etc. are an awesome outlet for bulkiness and layering for me!


Today I have a altered canvas to share with you! I used one of my most favorite Prima lines, Printery (CHA Summer 2011 release) and lots of KARLAS001 yumminess. I got messy using mod podge, distress stains/inks, paint, and molding paste. I had fun playing with some of the new Tim Holtz stamps as well.


The quote used is from the Tim Holtz Stuff to Say stamp set...Experience is not what happens to you. It's what you do with what happens to you.


I like this quote because I do my absolute best to not regret or look back and think could of, would of or should of...you can either let it get you down or let it make you stronger! I always choose to make me stronger. Of course there are always harder experiences to get through BUT I feel the harder it is the stronger it will make me!


I hope you enjoy this little piece of artwork as much as I enjoyed creating it.


Until next time be creative!

KARLAS001 products: Gray Tear Drop Pearl Trim4mm Pearl TrimMulberry Flowers, WhiteLeaf TrimBeige & Black Pearl Sprays

Other products/mediums/materials used: Adirondack Paint Dabbers: Silver, Pitch Black & Juniper - Tim Holtz Walnut Stain Distress Stain - Tim Holtz Walnut Stain Ink - Mod Podge - Folk Art Metallic Champaign Paint - Tim Holtz Stuff to Say & Mixed Media stamps - Prima Printery paper, flowers, buttons - Blick 8x10 canvas - Golden Molding Paste - Prima lace trim


Watch my YouTube video below

Thursday, March 15, 2012

My Mind's Eye, Miss Caroline 12x12 Layout & Banner

Hello! It is a dreary Thursday afternoon in here in West Los Angeles so I thought I'd bring you a bright and colorful project!

Today I have the remaining of my Remember When March design team projects, it was a team challenge using My Mind's Eye, Miss Caroline Dolled Up line. With a team challenge, we all get the same paper line but different papers, trims and embellishments from that particular line.

Watch below for all the goodies I got in my DT package for this challenge:


In the 12x12 "Start Everyday with a Smile" layout I had fun challenging myself in using colors I wouldn't normally use, such as yellow! I decided to pull yellow from the design paper by using Tattered Angels Banana Pudding Chalkboard spray on Tim Holtz music note tissue paper. I received lots of embellishments including rub ons, which I haven't used in ages, from the paper line. In true nature of myself, I did some fussy cutting, taring and distress inking. Lots of layering too! I also used a current picture of myself which I am not one to like any pictures of me! :) Check out the pictures below for the "Start Everyday with a Smile" layout.
The layout contains three different papers from the "Dolled Up" collection of MME Miss Caroline; Favorite, Living,  and Cute. The music note tissue paper is Tim Holtz. 
Lots of fussy cutting of the popped up flowers, there are some flower embellishments and stick pins from the Dolled Up line.
This is from the Living collection
RUB ONS! Wow, I haven't used them in ages but they are pretty!
The butterfly is a wood chip piece from the Living collection with some pearl bling. I used my Tim Holtz music note stamp and stamped using distress embossing powder; peeled paint. I also stamped over with a mango color ink to give it an orangie color.
I think this may be my first banner EVER! hmmm...I think so! I created a "Spring" banner using the left over paper and embellishments from the "Dolled Up" collection. I played with a Sizzix bird die, Maya Road chipboard shapes, my Tim Holtz tattered floral flower die, distress embossing powder and flower soft! Have you guys used the perfect medium pen? It is awesome, it allows you to powder emboss edges such as the flower edges below. I used scattered straw distress powder on the edges. Check out the pictures below.
The word "Spring" is a AccuCut die, the flower chipboard is from Maya Road.  
The bird is a die from Sizzix, I used flower soft on the tail of the bird.


Watch below for more info and description on how I created both the layout and banner. Thanks for hanging out with me!

Until next time be creative!


Saturday, March 3, 2012

Graphic 45 Steampunk Altered Box & Mini Album

Hello Everyone - I hope this post finds everyone doing fantastic and in a creative mood! If you lost your mojo, I hope this posts helps you find it and I send inspiration your way! :)


Today I have one of my March Remember When DT projects, this month I was given the monthly themed crop project. Getting the crop project means you are designing a project for those who attend the monthly crop to create at the crop or to take home. The March crop is themed Mixed Media! I was so excited to have been given the opportunity to design for this crop because I love to alter things and the paper line given is my most favorite Graphic45 line ever...Steampunk!


I was given a G45 Kraft box that included a mini kraft album, two sheets of Mechanical Mind, Fantasy Floral, Nouveau Artistry, Victorian transformers and a sheet of the tag punch outs. Medium I used was mod podge, Tim Holtz Distress Crackle Paint, Peeled Paint, Tim Holtz Distress Stain, Walnut Stain, Tim Holtz Distress Ink, Walnut Stain, Glossy Accents and Crackle Accents. Die cuts I used, which are always my favorite to go to for vintage, grungy projects: (all Tim Holtz of course!) Tattered Flowers, Mini Sewing Room Dress form, Mini Gadget Gears, on the Edge Gadget Gear and the regular Gadget Gears.


I mod podged, crumpled, distressed, inked, tore, fuzzy cut, stained, crackled and painted until my little heart was content! It was so much fun and right up my alley! Check out the pictures below...I hope the croppers and you like what I created.


Pictures used are from CHA Winter 2012.


With Karla (KARLAS001 on YT)
You can't see the picture but that is Bona (livelovescrap on YT)
With Jo (paperdrama on YT) 
With Cindy (cynthialoowho on YT)
With Limor (limor1278 on YT) 
With Rina (scrapstress on YT) 
With Arlene (mybutterflykisses12 on YT)

Check out the audio description of this project by watching the video below!


Until next time...be creative!